Voltage drop sounds simple. But it causes many real problems. The lights look dim. Motors run hotter. Electronics reset or behave strangely. These issues often appear on long cable runs. Or on circuits with heavy loads. That is why people search for voltage drop rules of thumb. And especially the 3% vs 5% voltage drop rule. This guide explains those rules practically. You will learn what they mean. You will learn where they are used. You will also learn when you should be stricter than the rule.
What does Voltage Drop mean?
Voltage drop is a loss of voltage along a wire. Current flows through the conductor. The wire has resistance. Resistance causes a drop. So the load gets less voltage than the source. The longer the cable, the higher the drop. The higher the current, the higher the drop. And the smaller the cable size, the higher the drop.
Why Voltage Drop Matters?
A small drop may not sound serious. But it can hurt performance. Lights can look weak. Fans and pumps may feel slow. Heaters may take longer to warm up. Some electronics may restart. Some chargers may stop charging. Motors are a special case. Low voltage can increase motor current. That creates extra heat. Heat shortens motor life. It can also cause nuisance trips. So, voltage drop is not only a “comfort” issue. It can become a reliability issue. That is why electricians and engineers check voltage drop early. It saves time later.
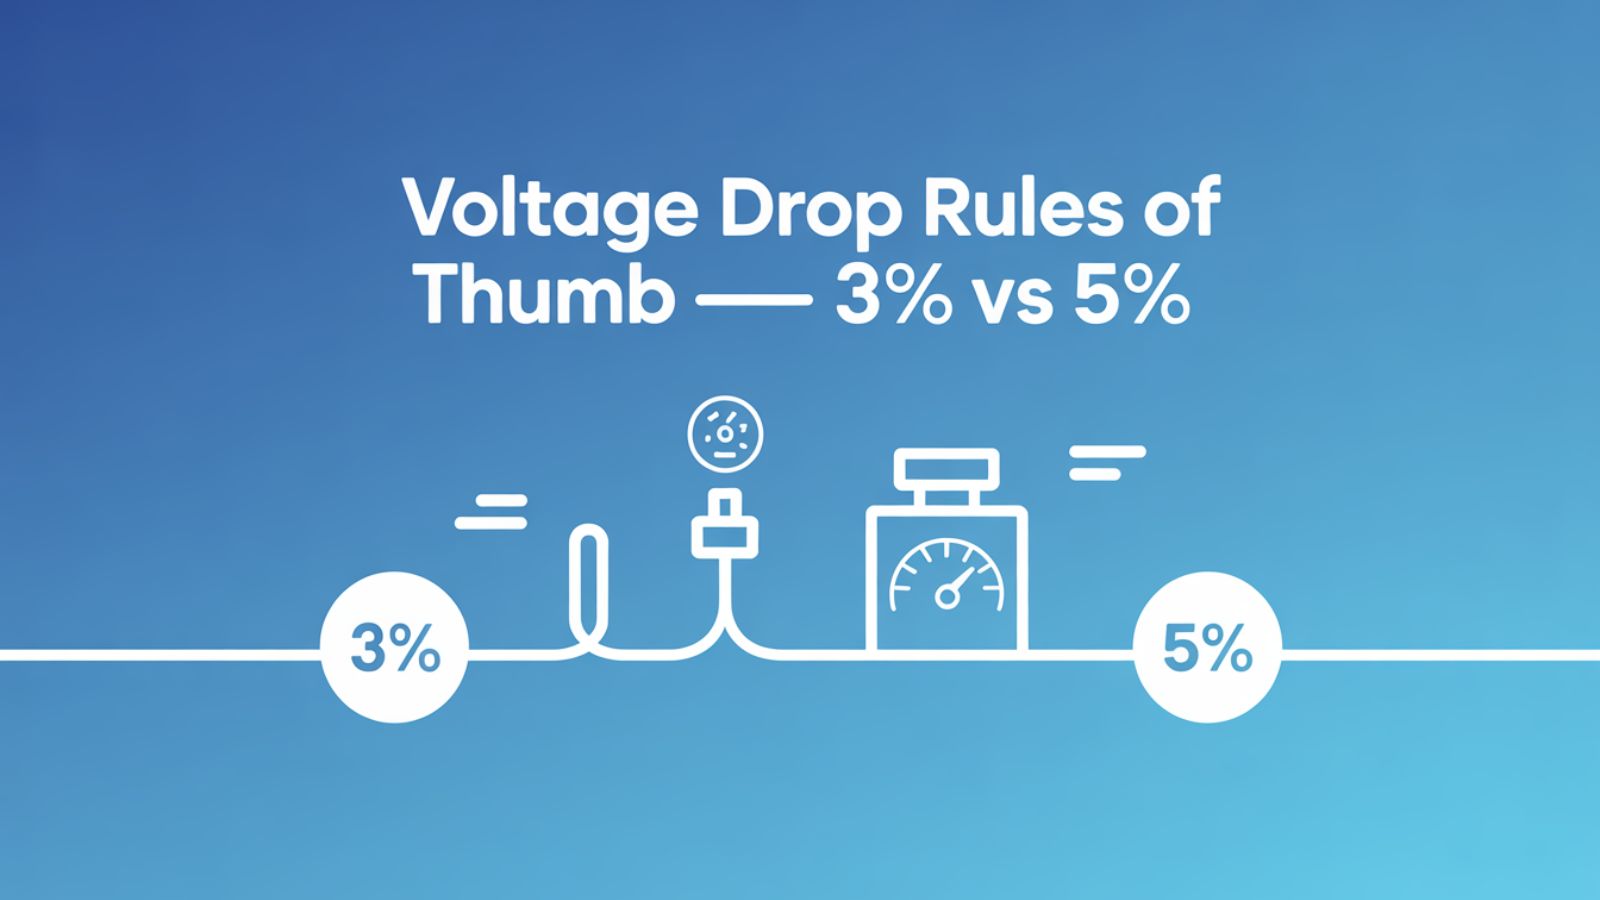
The 3% vs 5% Voltage Drop Rule (Clear Meaning)
The 3% vs 5% rule is a guideline. It is not a physics law. It is used for good performance. It is also used to avoid overspending on cable.
Most people apply it like this:
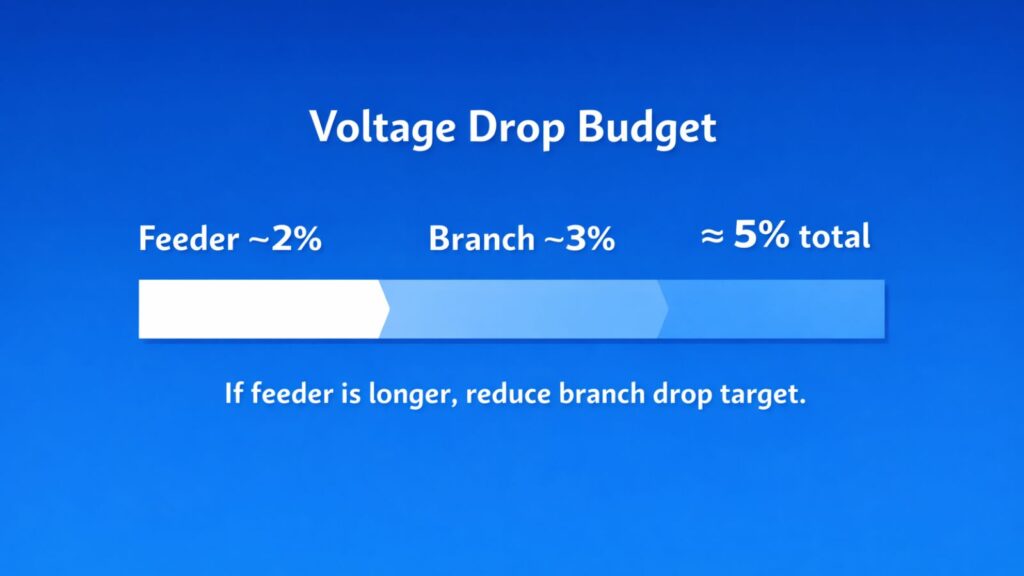
A maximum 3% voltage drop on a branch circuit. That means from a panel to the load. Maximum 5% total voltage drop for feeder + branch. That means from supply to panel, plus panel to load. So, the 5% is not a replacement for 3%. It is the overall limit. Many designers split it. They use about 2% for the feeder. They use about 3% for the branch. That keeps the full path near 5%.
This is the practical meaning of the 3% and 5% voltage drop rules.
What Counts as a Branch Circuit and a Feeder
A branch circuit is the final run. It goes from the distribution panel to the device. For example, a lighting circuit. Or a socket outlet circuit. Or a pump circuit. A feeder is the run that supplies a sub-panel. It carries power from the main distribution point to another panel. Feeders can be long in big buildings. They can also be long in industrial sites. That is why the total drop matters. A perfect branch circuit does not help if the feeder already used up the voltage drop “budget.”

When the 3% Rule is the Better Target
Use the 3% rule for circuits where performance matters. This includes long lighting circuits. It also includes circuits feeding sensitive electronics. Many modern devices use switch-mode power supplies. They can tolerate some drop. But they also have undervoltage limits. If the input falls too low, the device may shut down. Or it may behave unpredictably. If you are feeding anything critical, aim for 3% or less on the branch. You will have fewer complaints. You will have fewer strange faults.
When the 5% Total Rule is the Better View
The 5% rule is useful when you have more than one section of wiring. That means feeder plus branch.
Think of it as a total allowance. If the feeder is long, it can take a big share. Then the branch must be tighter. If the feeder is short, you can allow more drop on the branch. This is why the “budget” idea works.
A simple split is common:
Keep the feeder around 2%. Keep the branch around 3%. Total stays near 5%.
This is not a strict law. It is a practical design habit. It is easy to remember. And it usually gives good results.
A Simple “Drop Budget” Approach
Here is a clean way to plan it.
First, decide on the acceptable total. Many people start with 5%. Then check if there is a feeder section. If yes, estimate its drop first. If the feeder is small, you have more room for the branch. If the feeder is large, reduce the branch drop target. This approach prevents one common mistake. That mistake is checking only the branch. Then, ignoring the feeder. The total drop becomes too high. The load receives low voltage. Problems appear later.
Good voltage drop rules of thumb always consider the full path.
When Should You Be Stricter Than 3% and 5%?
Sometimes these rules are not enough. Some loads need better voltage support. Some systems are more sensitive.
Low-voltage DC systems are a good example. A 12 V system cannot “lose” much. A 1 V drop is already about 8.3%. That is huge. So, in 12 V and 24 V systems, cable sizing is often dominated by voltage drop, not ampacity. Motor starting is another case. Motors draw high inrush current. This causes a temporary drop. If your running drop is already high, the starting drop can be severe. Lights may flicker. Contactors may chatter. The motor may struggle to start. Long outdoor runs also deserve caution. Pumps and compressors on long runs are common. These loads are expensive. They are also hard to access. A slightly larger cable can prevent repeated service calls.
For these cases, designers often aim for lower than 3% on the branch. They do it to protect equipment and reduce trouble.
Ampacity vs Voltage Drop (Both Matter)
Many people choose cable size using ampacity only. Ampacity tells you if the wire can carry current safely. It is about heat and insulation limits.
Voltage drop is different. It is about the voltage the load receives. A wire can be “safe” by ampacity. But it still delivers poor performance due to high drop.
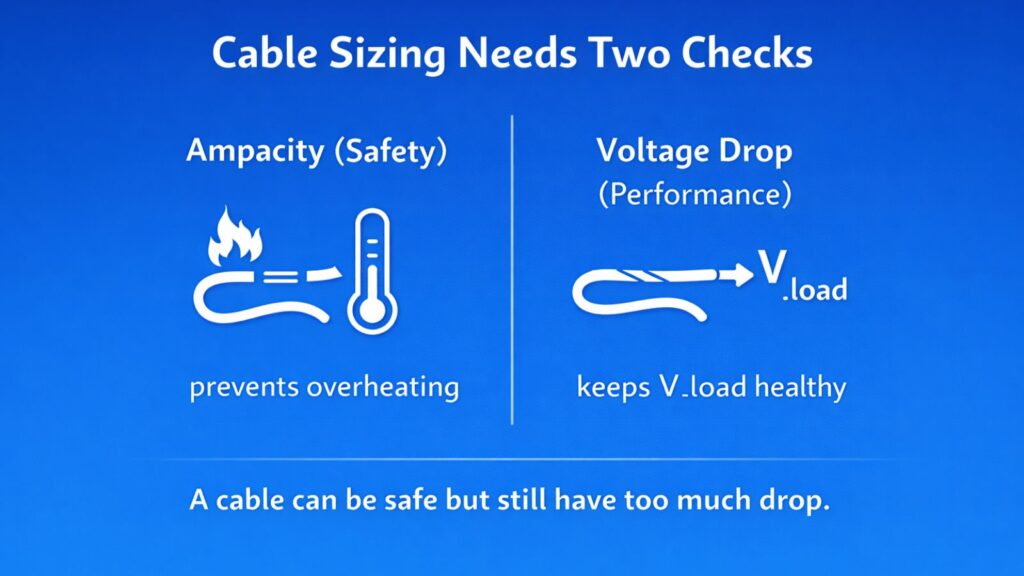
So you should check both. First check ampacity for safety. Then check voltage drop for performance. This two-step method is simple. It also matches how many professionals work.
Real-World Signs of Too Much Voltage Drop
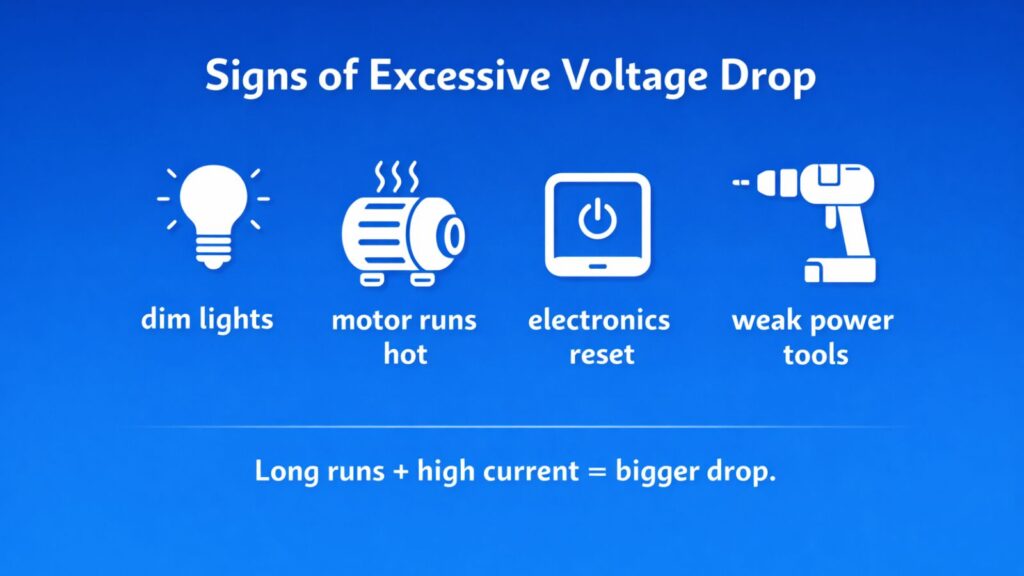
Voltage drop issues often show up as symptoms.
Lights can dim when a load turns on. Fans can slow down on long extension runs. Power tools can feel weak. Chargers can cut out. Electronics can reset. In industrial systems, contactors may chatter. Control circuits may become unstable. Some devices may show undervoltage alarms. These signs do not prove voltage drop by themselves. But they are a strong clue. Especially when the cable run is long. Or the load current is high.
Common Mistakes with the 3% vs 5% Rule
One mistake is treating 5% as “fine for everything.” It is not. It is a guideline. Many loads prefer less. Some loads demand less. Another mistake is forgetting that the voltage drop rises with load current. If current increases later, drop increases too. Future expansion can break a design that was “just okay” today. People also forget temperature effects. Resistance increases with temperature. So hot cables can have a higher drop than expected. This is common in packed conduits or hot environments. Another mistake is distance confusion. Some calculations need the return path length. Some people use only one-way distance. That underestimates the drop. Also, be careful with AC systems. Line-to-line and line-to-neutral values are not the same. Confusing them creates wrong results. These mistakes are why voltage drop checking should be routine. It prevents avoidable failures.
A Practical Recommendation (Simple and Safe)
Keep the branch circuit drop near 3%. Keep total feeder + branch near 5%. Be stricter for long runs, motors, and low-voltage DC. Also, be stricter for sensitive electronics.
This guideline gives good performance. It also avoids oversizing cables without reason.
Final Summary
The Voltage Drop Rules of Thumb (3% vs 5% rule) exist because voltage drop affects performance and reliability. A 3% target is commonly used for branch circuits. A 5% target is often used for the full path, including feeder plus branch. The best mindset is to treat voltage drop like a budget. Plan where the drop will occur. Split it across the feeder and the branch. And be stricter when the load is sensitive, or the run is long. If you follow this approach, your circuits will run better. Motors will last longer. And troubleshooting will be easier.